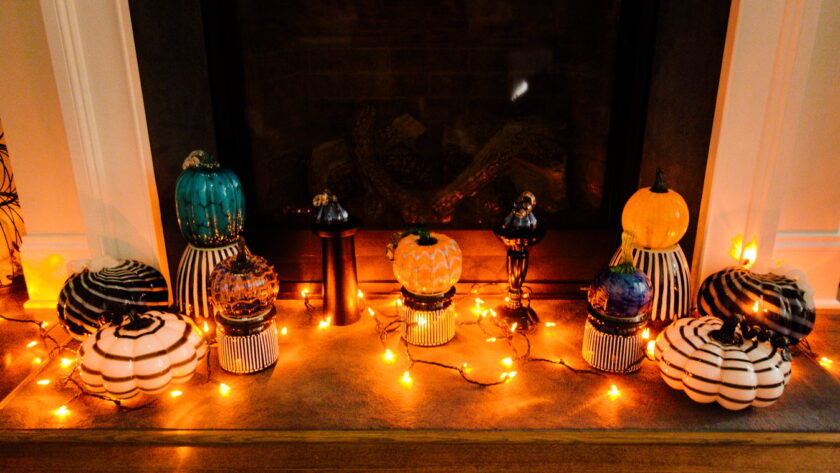
Glass blown pumpkins are pretty fall decorations. I have found glass pumpkins at various places over the years. Some of these places include local art festivals, Home Goods, and T.J. Maxx. As a result of collecting glass pumpkins over the halloween season, I had the idea of creating a pumpkin patch out of them. Today for Blog-O-Ween Day 9 I am sharing how I created my glass pumpkin patch.
Gather Your Glass Pumpkins
The first step in creating a glass pumpkin patch is to gather all of your pumpkins. After doing this you are able to get an overview of what you have and how you want to display them. We have quite the collection of different sizes and colors of pumpkins from our wedding and attending local art shows.

Design
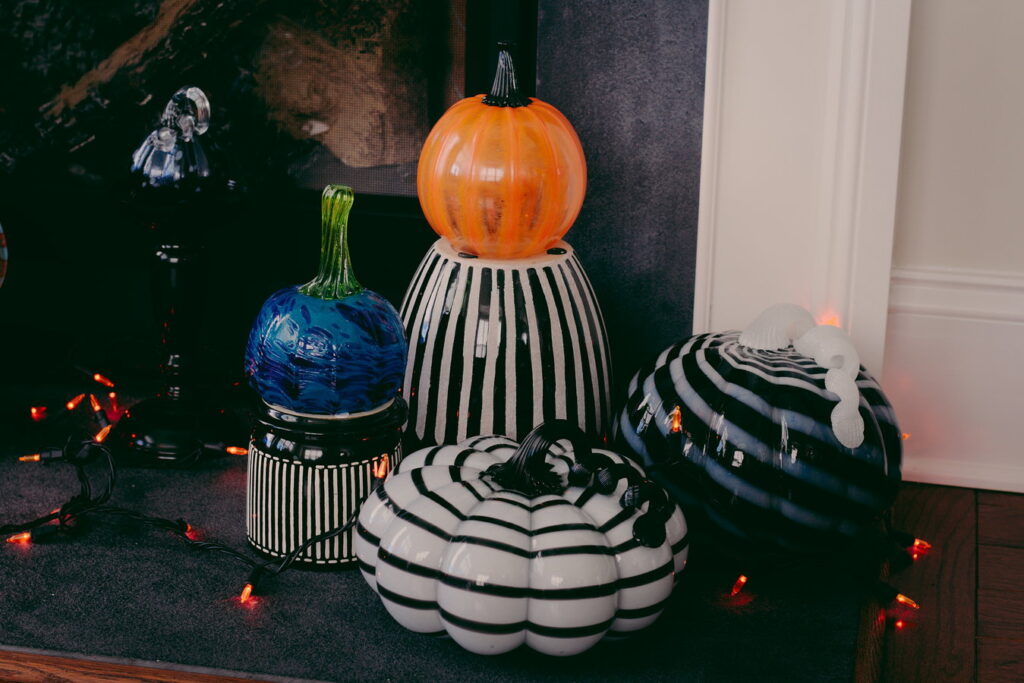
The next step in creating your glass pumpkin patch is to figure out where and how you want it displayed in your home. I decided to display ours in front of our fireplace. I placed bigger pumpkins on the outside of the hearth and smaller ones around them. To add some height to this display I used a trick I learned from our wedding decorator. If you have plant pots you can turn them over and place smaller items on top to display. This way you can add some height to your pumpkin patch while using some spooky pots you might have laying around. I also used candle holders to display the smaller glass pumpkins I have.
Final Touch
For my final touch I added orange string lights to my pumpkin patch. This will addd some extra spookiness to your display at night.
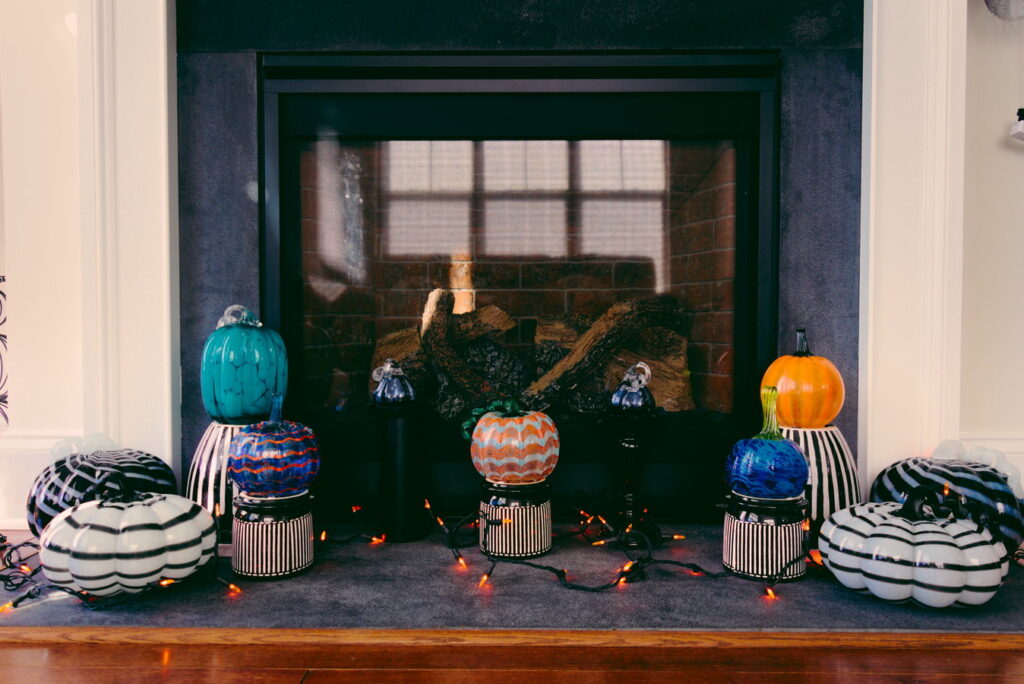
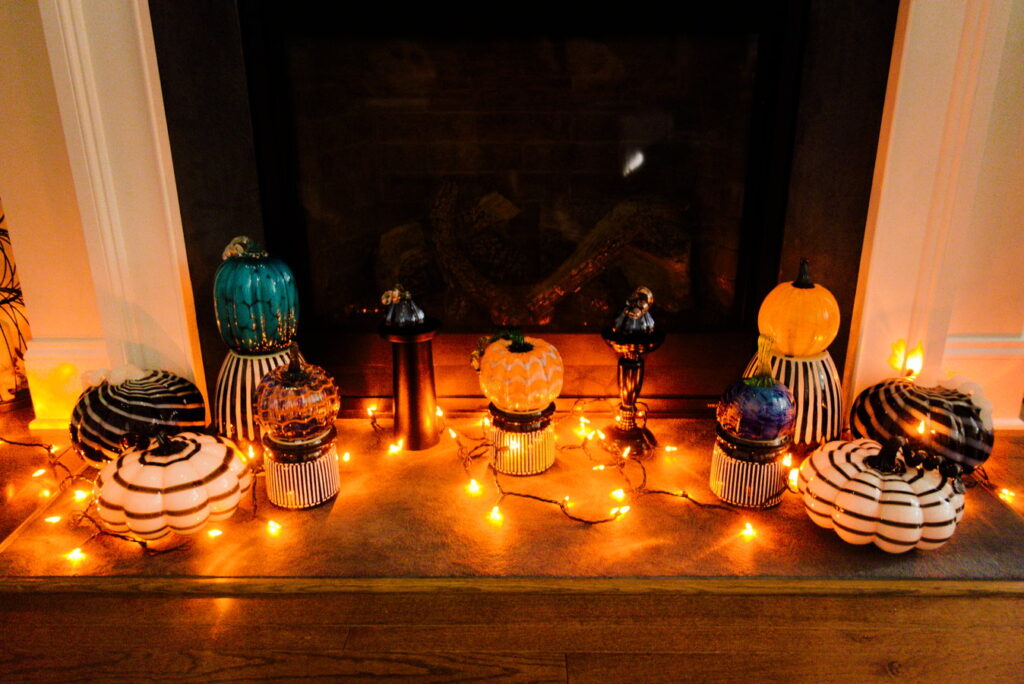
Creating a glass pumpkin patch was a fun and easy decoration to design. If you have collected a few of these pumpkins over the years try using them to create your own glass pumpkin patch in your home. I hope you have enjoyed Blog-O-Ween Day 9 and it has inspired you to do some decorating!
Stay Spooky!
-Caroline 🙂
Check out my other Blog-O-Ween posts:
The Wickedest Town In The West
2022 Nightmare Before Christmas Coffee Corner
Shop the Stay Spooky Collection here!

