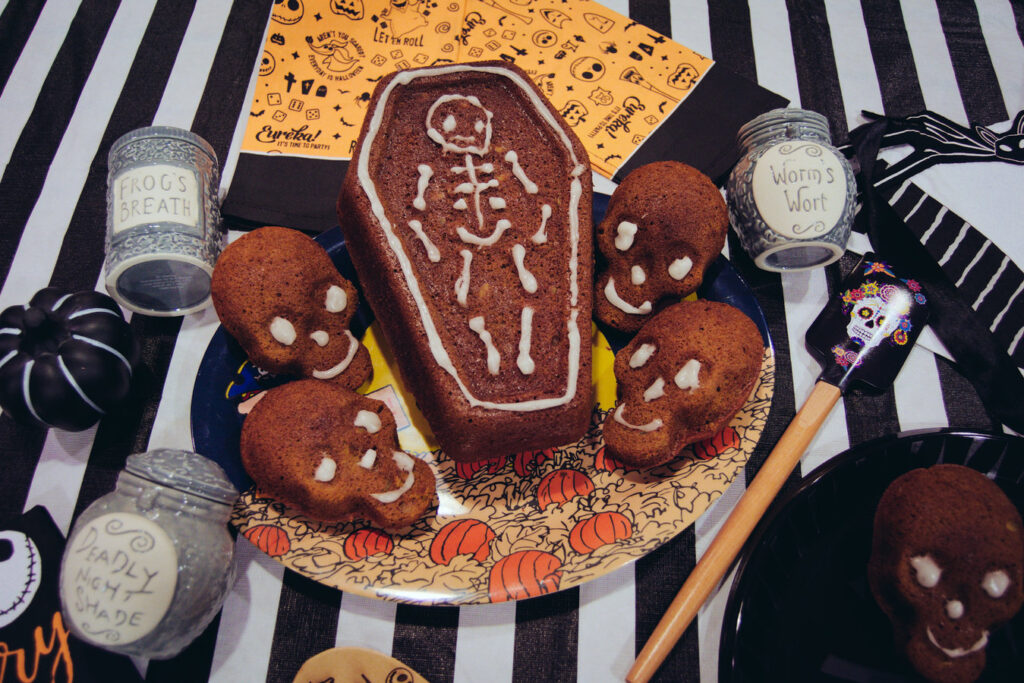
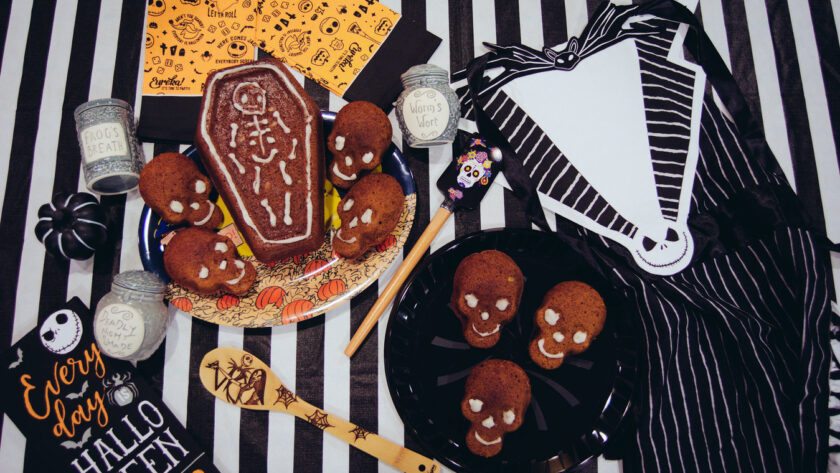
One thing many people love about fall is baking. I myself do not bake that often, however my fiancé Alex has been enjoying baking this season. He made a delicious pumpkin bread a few weeks ago. Over the weekend we decided to make some pumpkin bread together, but with a Halloween twist, skeleton coffin and skull pumpkin bread!
Skull pumpkin bread is fun and easy to make. Today on Blog-O-Ween Day 12, I am going to show you how we made this delicious and spooky skull pumpkin bread.
Alex and I used Libby’s Classic Pumpkin Bread Kit With Icing. This kit was super easy to use and the bread tasted amazing. You can also make this pumpkin bread without using this kit. If you do not use the kit, you will have to double check another pumpkin bread recipe to create the bread mixture from scratch.
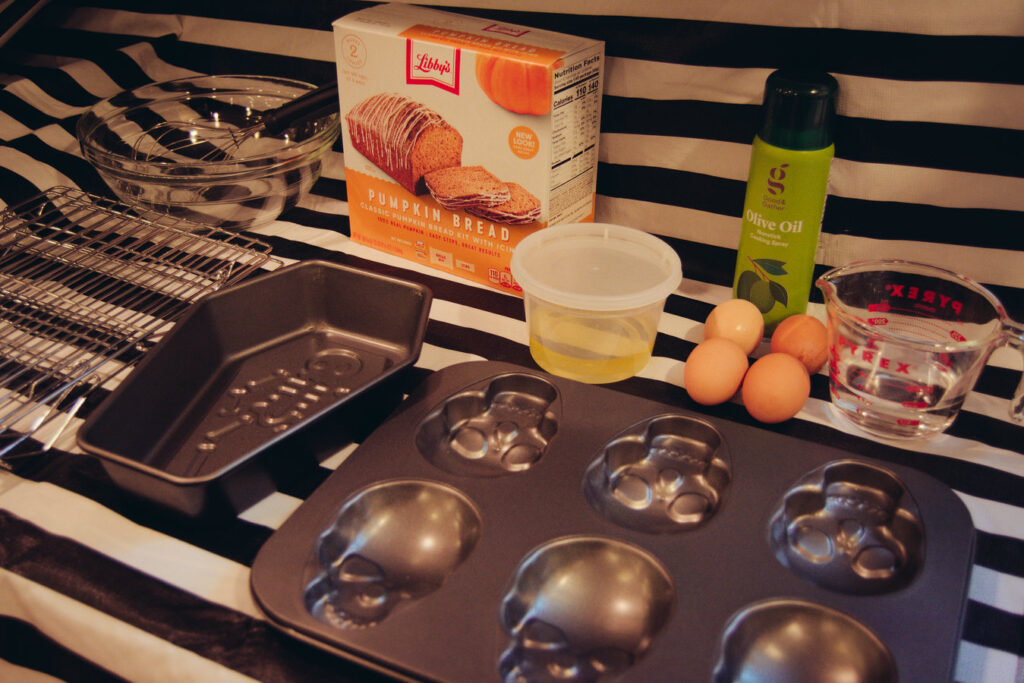
Materials
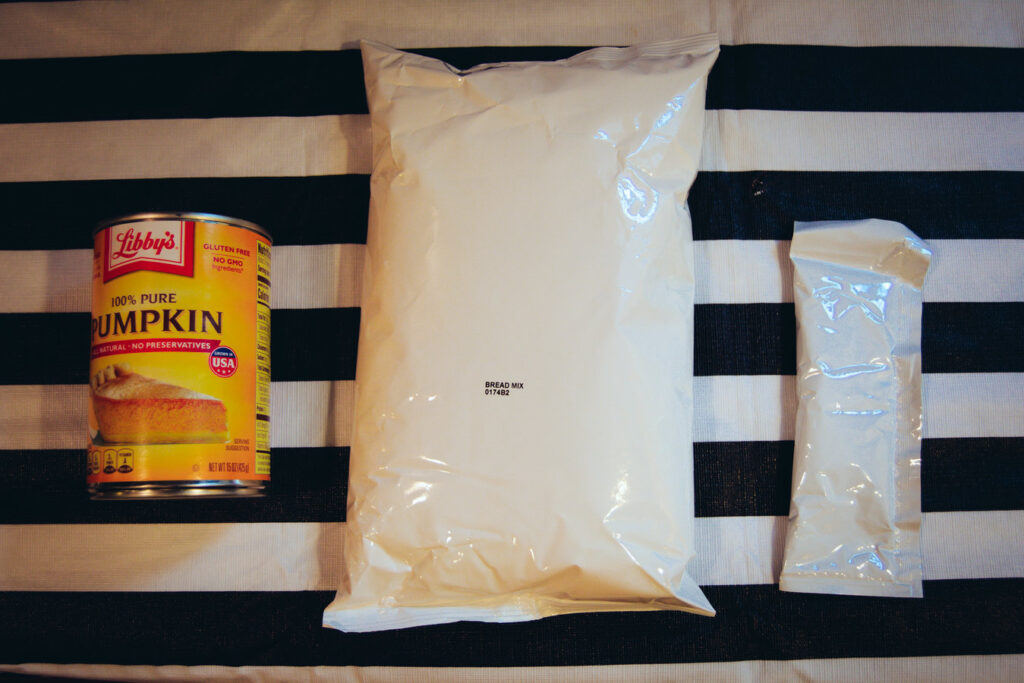
- Libby’s Pumpkin Bread Mix (Comes with a can of pumpkin, bread mix, and a packet of icing.)
- Nordic Ware Skull Head Pan ( I got mine from Target last year, but there is also one on Amazon that seems a little deeper. The deeper one would probably make the skulls more defined.)
- Skeleton Coffin Pan (Alex purchased it from Target this year.)
- Large Mixing bowl
- 4 eggs
- Cooling Racks
- Whisk or Mixer
- Measuring Cup
- ½ Cup of Vegetable Oil
- 1 Cup of Water
- Can Opener
- Butter
- Wax Paper
- Butter Knife
- Medium Spoon
- Optional Pumpkin Seeds
Step One
Remove the materials from Libby’s Pumpkin Bread Kit and preheat your oven to 350 degrees.
Step Two
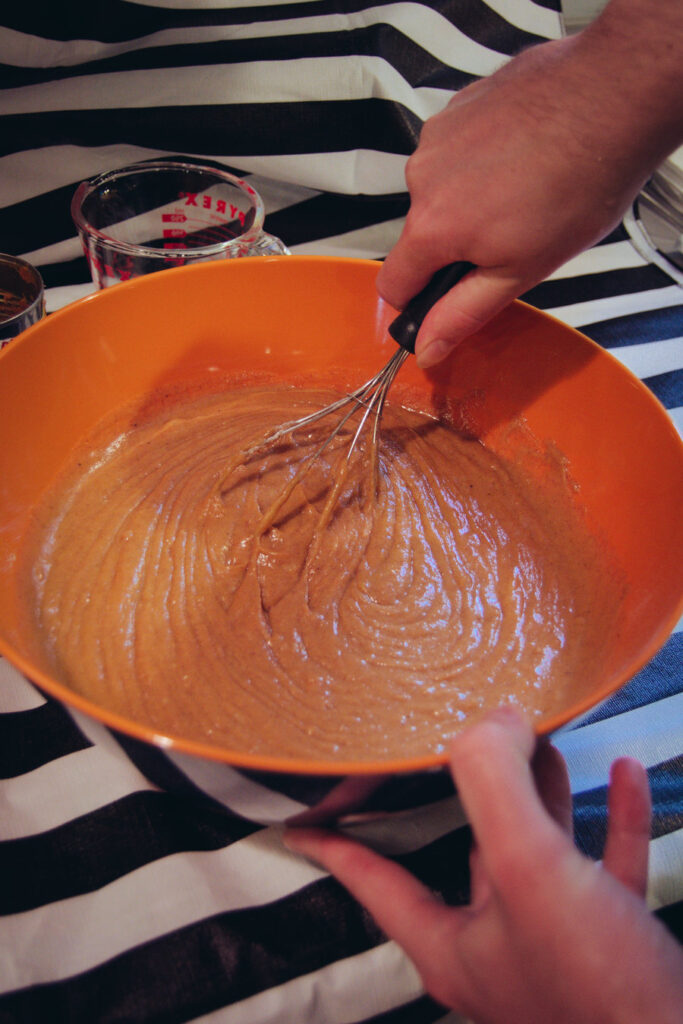
Crack your four eggs into a large mixing bowl. Make sure to use a very large bowl! Then add the cup of water, ½ cup of vegetable oil, and whisk together. Next, open and add the can of pumpkin and the bag of bread mix and continue to whisk. Alex and I also decided to add pumpkin seeds to our mixture. This is optional but if you want to add them, now is the time to do so.
Step Three
After you whisk the ingredients together, you will want to grease the skeleton coffin and skull head pan. We put a little bit of butter on a piece of wax paper and rubbed the butter on the inside of the pans.
Step Four
After buttering the pans, you are ready to add the mixture to them. You only want to fill the pan and skull up about half to ¾ full. Do not fill the pans up all the way, this could cause the bread to overflow while baking. We had some mixture leftover that we put in the fridge to bake later on.
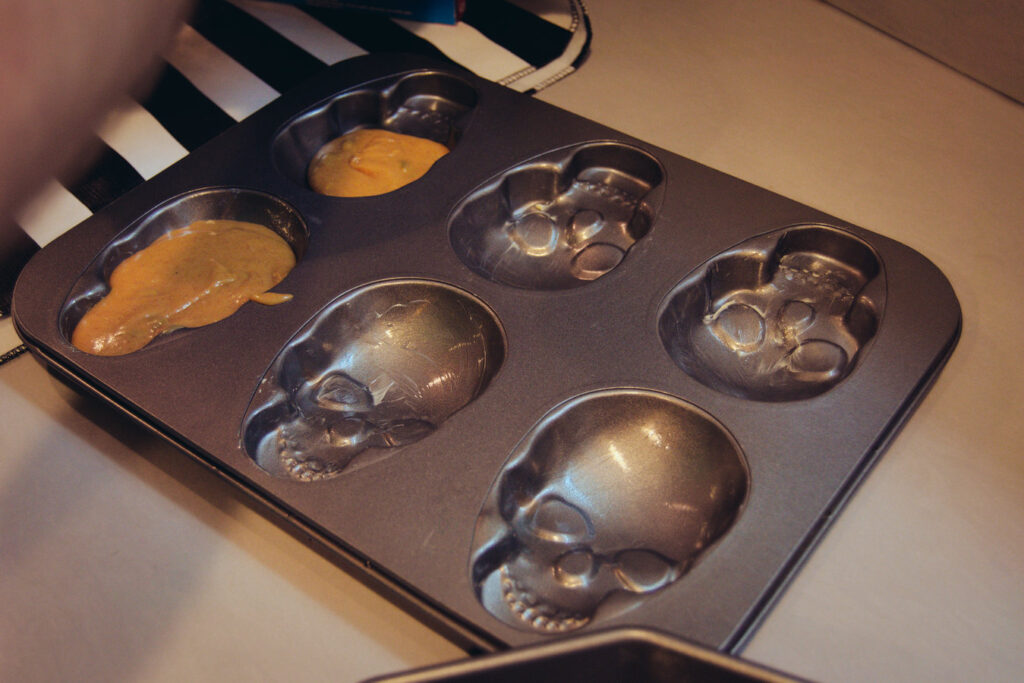
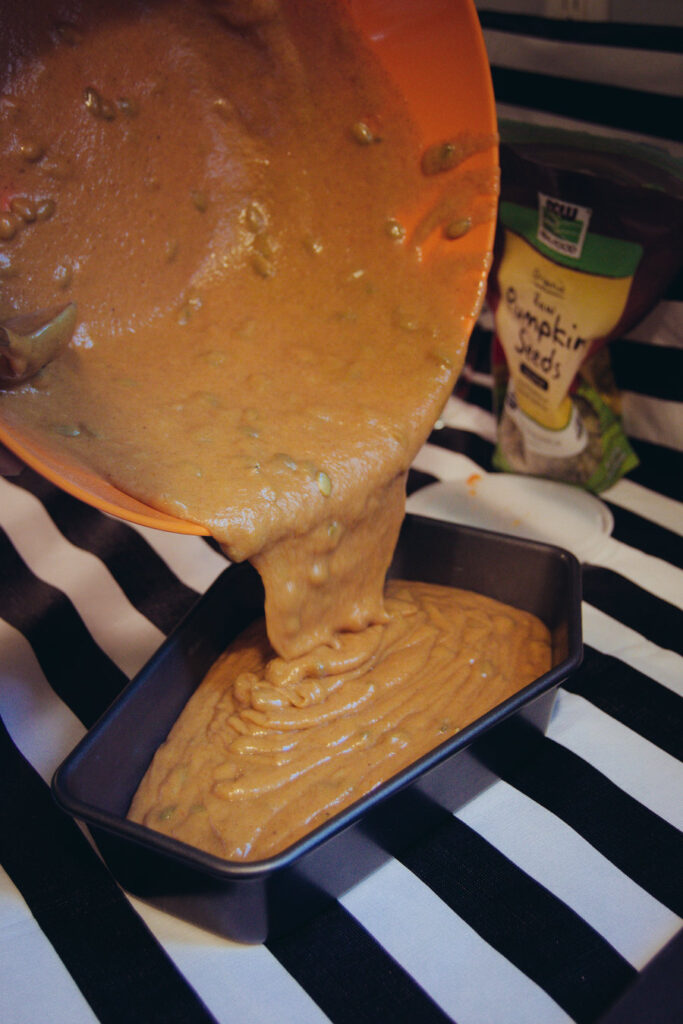
Step Five
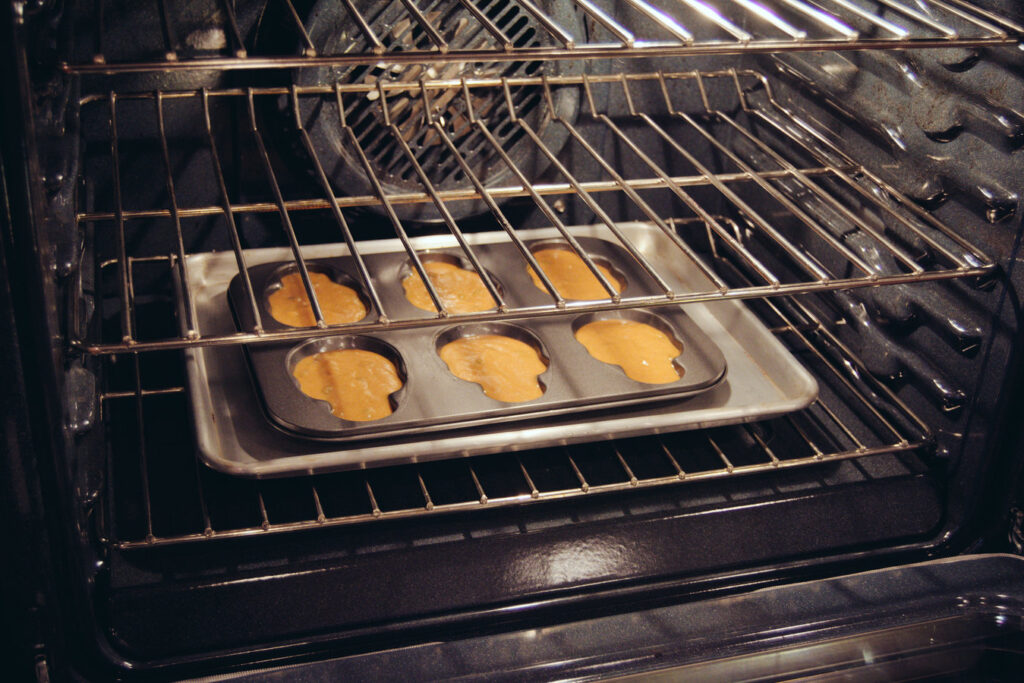
Once your pans have the pumpkin bread mixture in them, you can place them in the oven. We put our pans on a cookie tray to go into the oven, just in case any batter spilled over. We set a timer for 25 minutes for the skull heads and an hour for the skeleton coffin. The baking time will depend on how much batter is in your pans.
Step Six
After 25 minutes our skull heads were ready to come out of the oven. We double checked that they were done cooking by placing a small butter knife in them. You can also use a toothpick to check this. If the knife comes out clean, the skulls should be done. We let the skull heads cool in the pan for 10 minutes before placing them on the cooling rack.
To remove the skull heads from the pan, Alex used a knife to loosen up the edges of the skull. We then used the knife and a spoon to carefully transfer the skulls to the cooling rack.
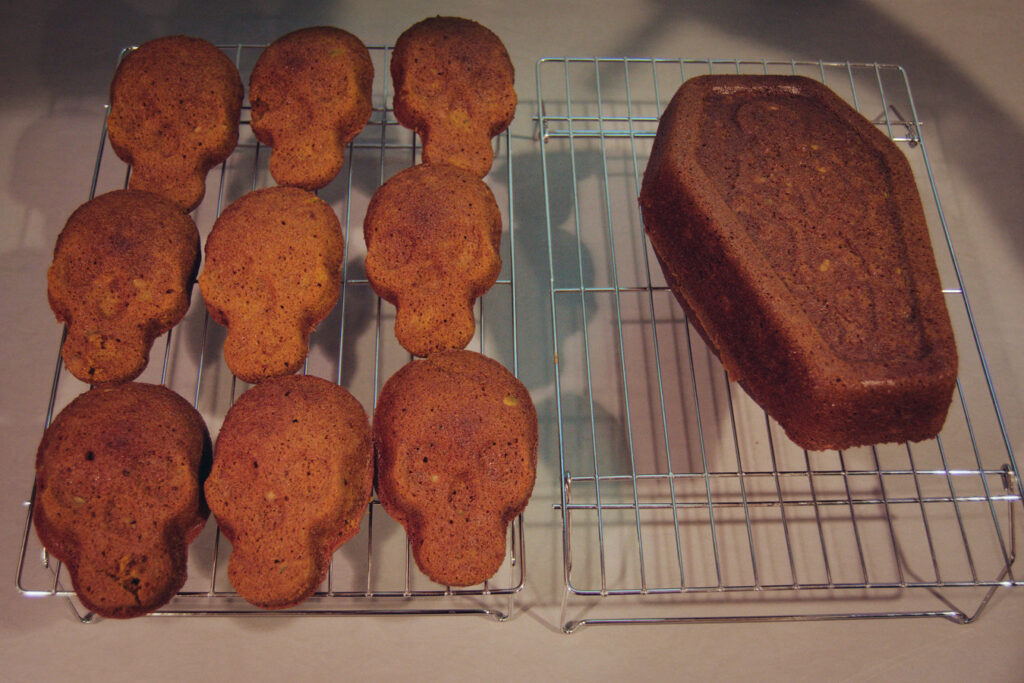
There was a lot more batter in the skeleton coffin pan. This pan took longer than an hour to cook. Once it was done cooking though, we let it cool for 10 minutes before transferring it to the cooling rack.
We also used the leftover batter to make three more skull pumpkin bread heads.
Step Seven
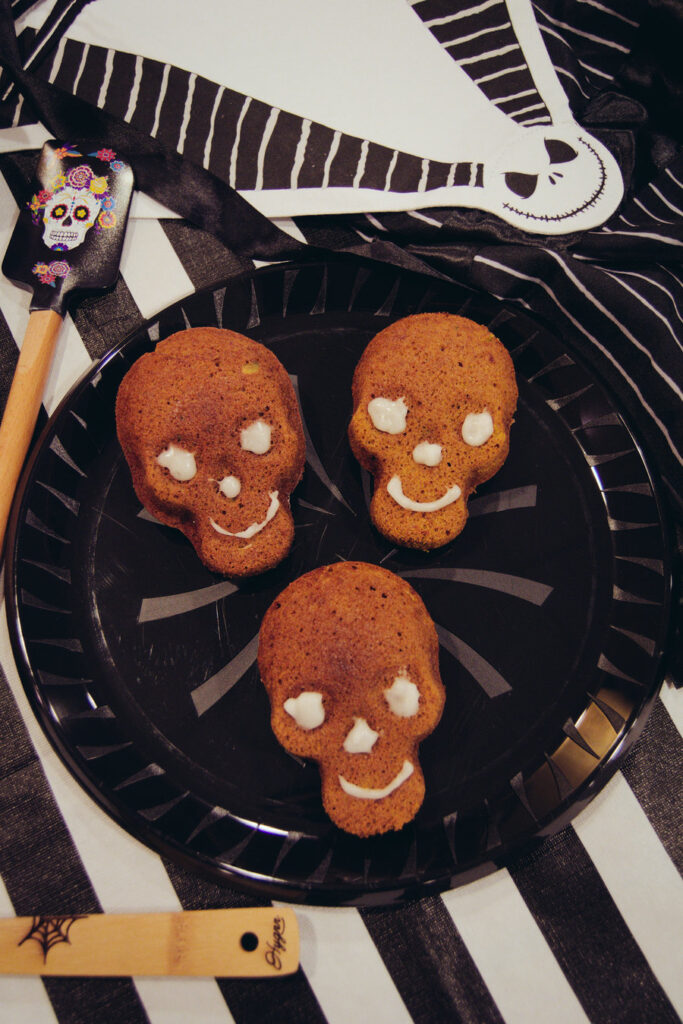
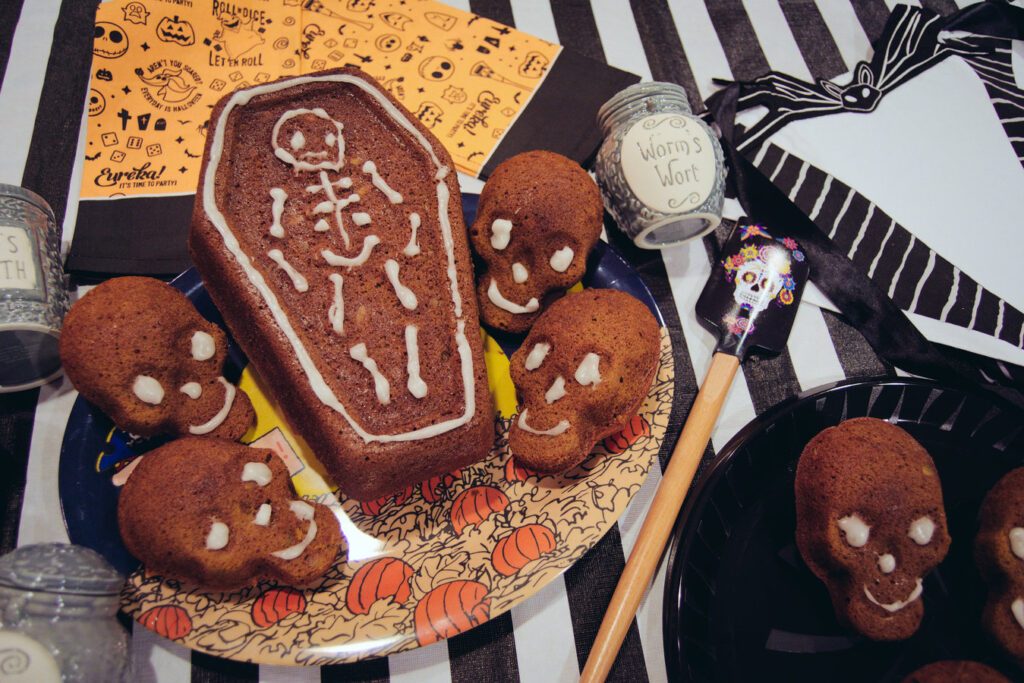
After the skull heads and the skeleton coffin cooled down a bit, it was time to decorate them! We cut open the corner of the icing packet and I started decorate. I added eyes, a nose, and a smile to each skull head. It was a little tricky at first but then I got the hang of it. Alex also helped me by using a kabob skewer to move the icing around.
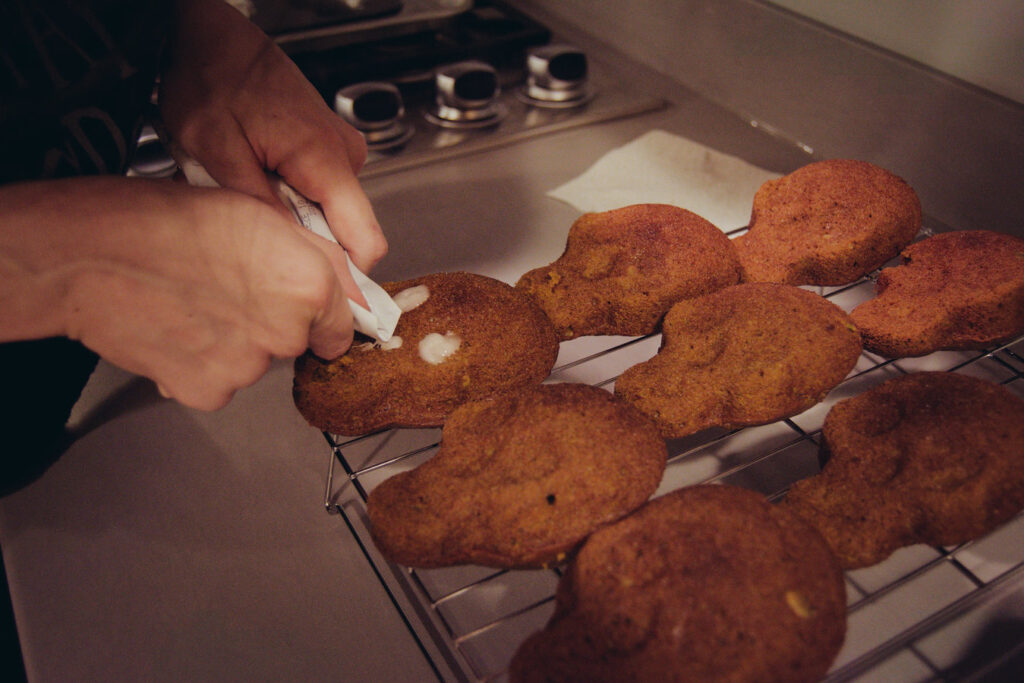
Then we decorated the skeleton coffin with icing. I filled in the skeleton and added icing to the perimeter of the coffin. You can get really creative with decorating if you have other colors of icing.
Step Eight
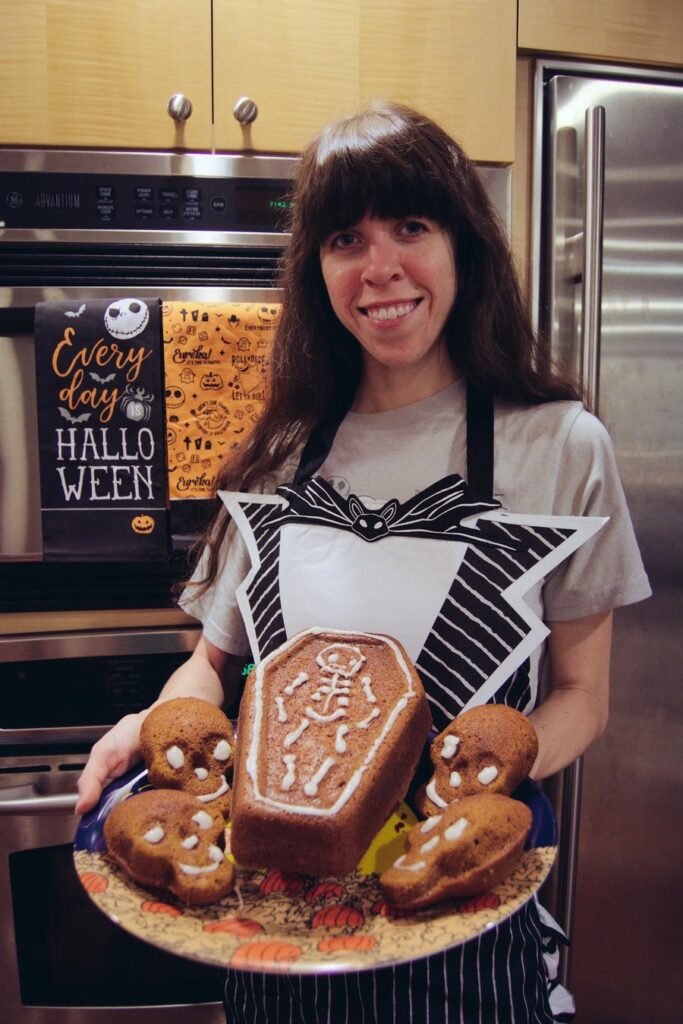
Once your skulls are all decorated, it is time to take fun pictures of them before eating! These turned out super cute and were fun and easy to make.
Step Nine
After you take pictures of your spooky skull pumpkin bread, it is time to try it! These skulls tasted delicious! The Libby’s Pumpkin Bread Kit really does make fantastic tasting pumpkin bread. The bread is also moist and has not dried out at all (it has been two days since we baked the skulls).
My family has been enjoying the skull pumpkin bread as well. We would 100% recommend using this pumpkin bread kit this season.
Even if you are not much of a baker, like me, it is really easy to make and tastes amazing. I think it tastes even better with a skull shape but I could be biased, haha.
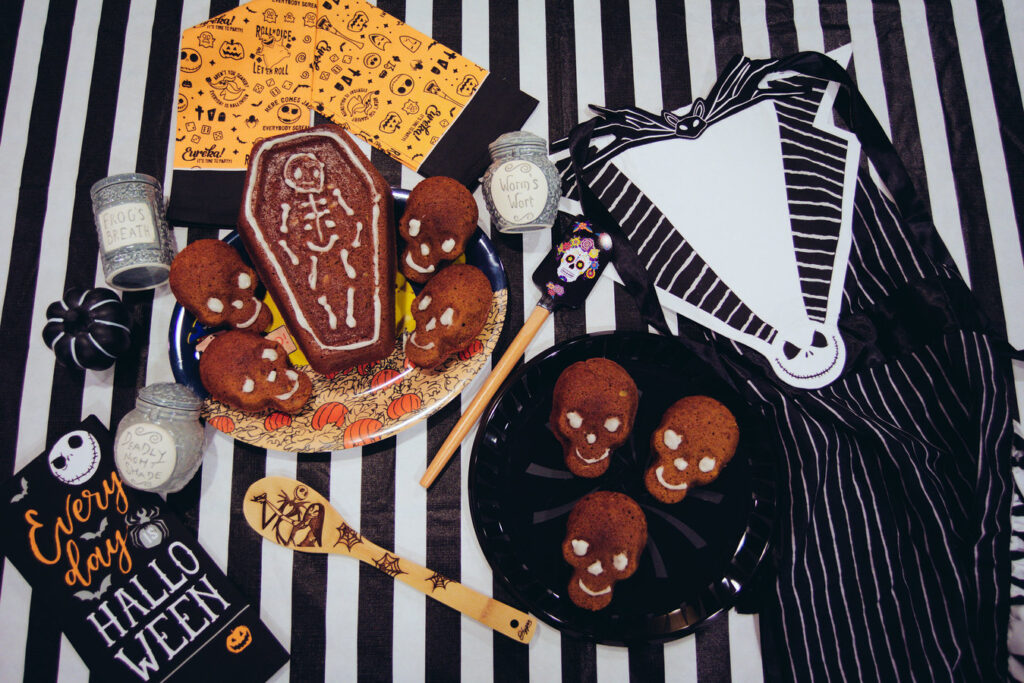
I hope you have enjoyed this tutorial on how to make skull pumpkin bread. Alex and I had a lot of fun baking these skulls and we will definitely make them again soon.
Make sure to check out some of the other Blog-O-Ween posts, such as a Tim Burton Movie Marathon List and our trip to Pumpkin Land!
Stay Spooky!
-Caroline
Shop the Stay Spooky Collection!


[…] October watching a scary movie. Over the weekend Alex and I had a fun Halloween day of baking skull pumpkin bread and watching a scary show. However, I wanted to make our night extra spooky and comfy by building a […]
[…] of these drinks pair very well with skull pumpkin bread too! This weekend try mixing up some apple cider mixed drinks, bake some skull pumpkin bread, build […]
[…] is a perfect October night to get comfy, build a Halloween fort, make some skull pumpkin bread, mix up a Halloween drink, and watch a spooky show from this […]